"It was one of those March days when the sun shines hot and the wind blows cold: when it is summer in the light, and winter in the shade." ~Charles Dickens, Great Expectations
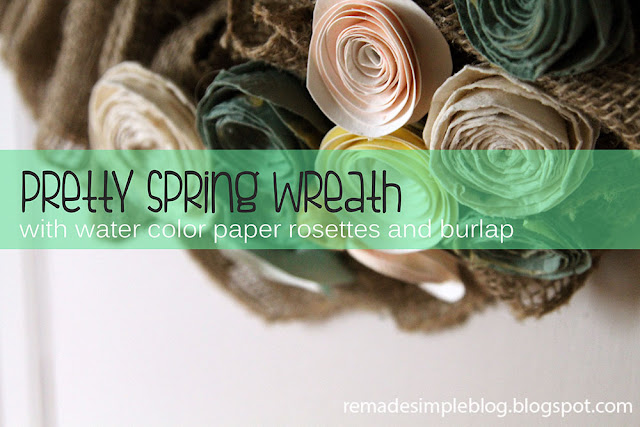
Perfect description of this freezing first day of spring! I have had this wreath up on my door for a few weeks now, beckoning warmer days and blooming flowers to come already! It is made from burlap and different types of paper rosettes, including some watercolor paper I painted that turned out so pretty.
If you've been on Pinterest, you've probably seen lots of ways to make burlap wreaths. The accordion style below is my favorite and easiest to make, in my opinion. For the tutorial I used, click here. It is basically weaving a piece of wire through the folds of a wide strip of burlap and securing the back with wire.
A helpful tip I figured out while shaping your wreath is to use clothespins all around the circle-it holds the wreath together while you secure each section with wire. I also used burlap on a roll instead of cutting strips for less mess and to save time.
For the paper rosettes, I used thick handmade paper and also painted some circles of watercolor paper and cut them out after they were dried. Paper rosettes take a little practice to get right but are fun once you get the hang of it. There are a few tutorials out there that show the same basic technique:
First you start by cutting out a circle a few inches wide. They don't have to be perfect. It helps to use thicker paper, like watercolor.
Then you draw a swirl from the outside in, trying to space them evenly.
Begin cutting out the swirl all the way to the center along the line.
After your swirl is cut out, begin rolling the paper from the outside in. I used dots of tacky glue to hold them in place as I formed my rose, but you can also use hot glue.

After making a few different sizes, shapes and colors of rosettes, I hot glued them to my burlap to finish the wreath. I love how it turned out-the rustic burlap contrasting with delicate pastel flowers. Since it was going on my front door, I sprayed on a coat of spar polyurethane to protect it from sun and humidity damage.
This wreath is really fun to make-I recently got to teach a group of women at a nonprofit art center how to make them and love how different each one turned out. There's so much you can do with the burlap base-I consider it the "year round wreath", this is the third one I've made, just changing out the embellishments to fit the season. I'm pretty sure this one will be up until the fall-maybe then I'll make one with bright yellow leaves or white pumpkins?
I link up to these parties.


