Search

Showing posts with label table. Show all posts

February 23, 2012

Retro Stenciled Side Table


Pin It

Since the New Year, I've been having fun changing up a few painted furniture pieces in my house, turning a few things lighter from rusty reds and blacks to yellows, whites and pastels.

And, this little side table of mine was bugging me. It looked too dark and boring sitting in the corner of my living room next to a dark brown leather chair. 

So, I decided to give it a lighter, brighter revamp...

I painted the legs a pale gray, and the top the same yellow as my pie safe called 
"Yellow Magnolia"
by Martha Stewart. (Looks a lot like hard boiled egg, but I like it!)
I used eggshell latex paint for this (not on the chalk paint bandwagon...yet).
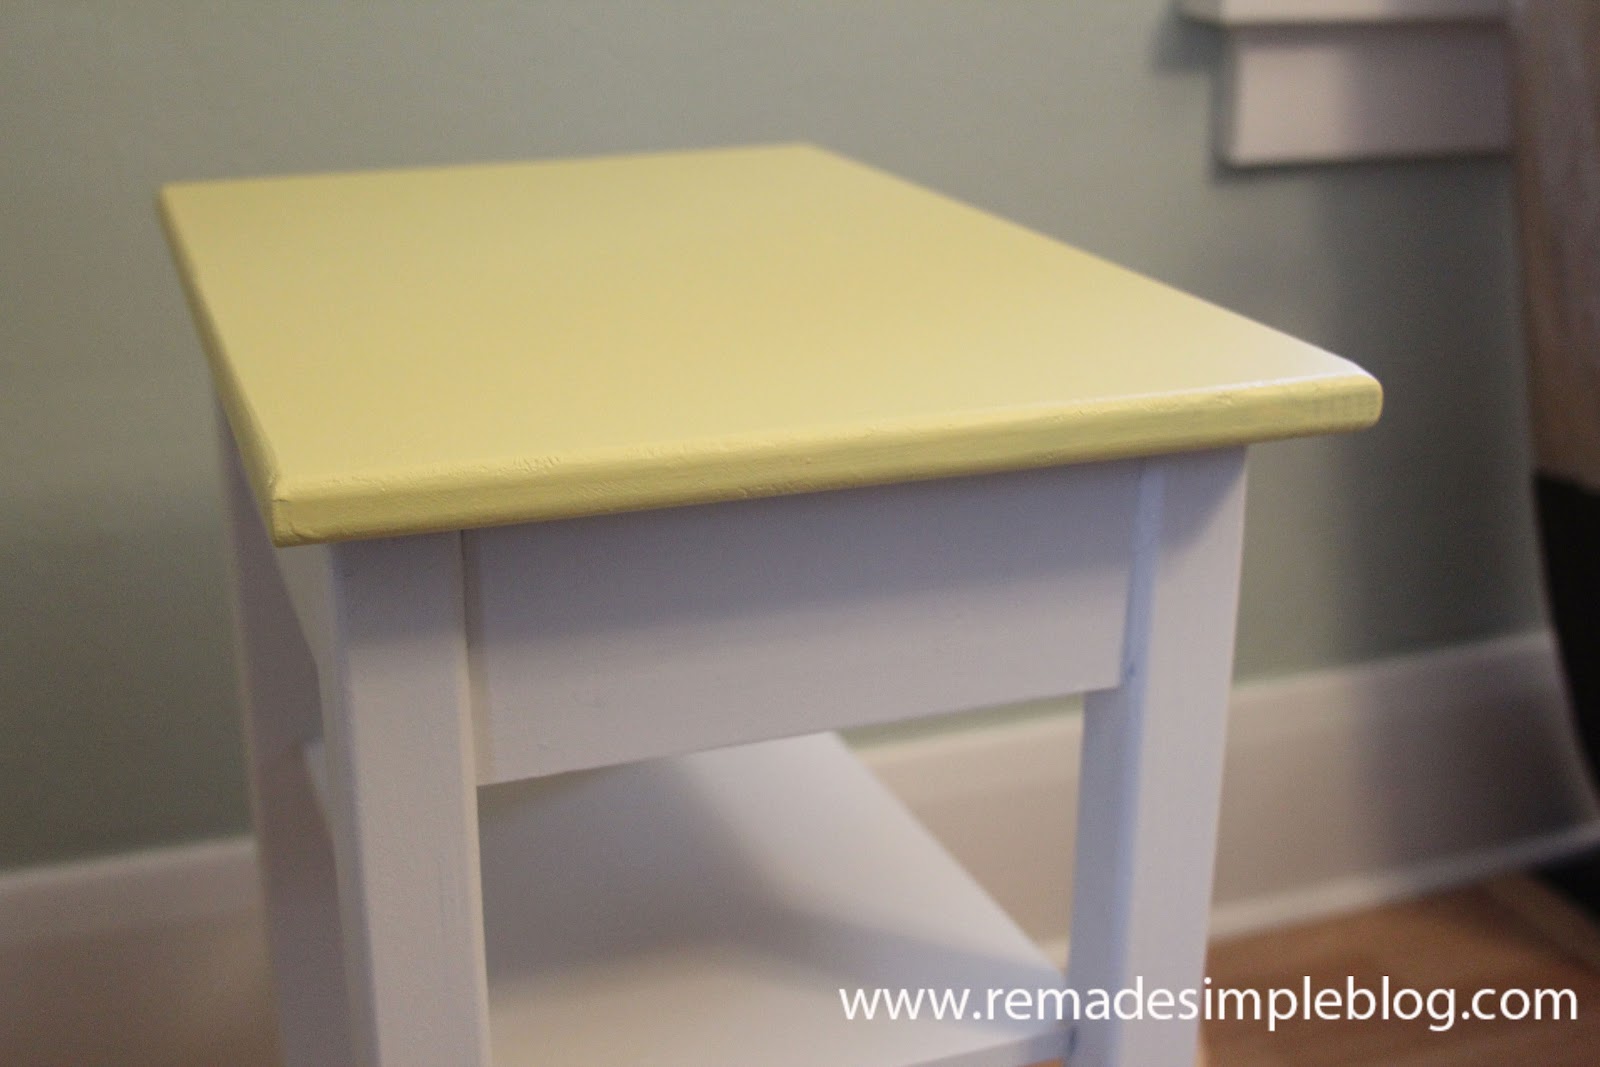


After the paint was dry, I decided to stencil the tops and sides for a nice pop of "Tangerine Cream" colored paint.
 I used my Nagoya Craft Stencil from Cutting Edge Stencils. 
(I had done stenciling for the first time with this stencil on a market tote bag 
and decided stenciling was fun and not scary!)


After the stencil was dry, I thought the design looked a little too bright how it was, 
so I decided sand down the top and sides with an electric sander using fine sandpaper.


Pin It


Sanding the table did the trick of toning down the orange accents and added that aged 
look that I love to the table. I love my new brighter table-
I think it adds a fun retro feel to my previously dark corner. 

And I love the combination of stenciling and distressing-will definitely be doing this again sometime!
(And maybe I'll be trying out that chalk paint everyone's raving about too...)

I hope you enjoyed this table revamp and thanks for visiting ReMadeSimple today!

Linking up with these parties and this party.


December 21, 2011

Patchwork Distressed Side Table Revamp


I was thrilled when Cassidy of Remodelaholic, contacted me and asked for this project to be featured on her blog, a very cool site run by a husband and wife team who have remodeled 3 houses on a very tight budget-like $5,000 cheap! I don't know how they do it but they are a very talented team. Thanks to those of you coming over from their blog today-
I hope you take a look around and like what you see here and stay awhile!

So, about this fun experiment I got to try-my first time doing a patchwork technique:

This side table was sitting in a dark corner of my aunt and uncle's basement.
My cousin, who is moving into a downtown loft apartment has been looking for tables to
furnish his new place and he saw the potential for this piece. 
I was happy to take on the challenge of revamping it for him and his girlfriend. 

I have been fascinated by patchwork salvage furniture I've seen,  but not so hot about the prices (hundreds and hundreds of dollars when I can recreate the look myself??) I got to experiment first with this project and am really happy with the results. Curious? Read on to see what I did:


I used these materials by DecoArt as my accent colors and brushes for the project.
After priming the table, I brushed these acrylic colors in strips on all of the areas of the table
that had separate sections of wood, along with a muted yellow latex paint sampler ( believe it was Glidden eggshell paint in "Crisp Ginger Ale".


 I allowed to dry before I coated the table completely with a light 
latex gray eggshell. 


 I then allowed the top coat to dry for a full day before my final sanding, 
which I did using 100 grit sandpaper with an electric sander. 


Hideous looking at this point--but look below 
to see what sanding the final top layer revealed! 


The table now has a similar effect of those expensive salvage wood pieced together tables and chests. I love how all the colors subtly show through underneath. I finished the project with a protective coating of Deco Art Acrylic Sealer. It left the table feeling as smooth as satin.
 I hope Kevan and Anna like the end result as much as I do! 

I can't wait to try this technique on some pieces of my own furniture next. Stay tuned as I reveal more revamps...Thanks for reading! 

--Kristina
Linking up with these parties and this party.