Search

Showing posts with label yellow and gray rooms. Show all posts

April 13, 2012

Framed Sticks Welcome Sign


Happy Spring! Want to change things up a little bit around the house? Why not try making a framed welcome sign like this one?  It's easy if you have an old frame laying around that you could revamp with a fresh coat of paint.

And who says welcome signs have to be on the outside of the house? I made this one that works either way because I love breaking "decorating rules". And, for those of you reading that don't really do crafts-I promise this one is one of the quickest and easiest so far-no excuses. So, what are you waiting for? Go make yourself something pretty!

Here's what I used to make my welcome sign: 


  • wooden frame with glass and backing removed
  • acrylic paints
  • paint brushes-one thick one thin for writing
  • sticks 
  • glue gun
  • sandpaper


After gathering a few  sticks and twigs outside of different shapes and sizes,  I broke them into lengths that would fit my frame.


Then, I painted the inside of my frame-(I used a rustic wooden one) with yellow acrylic paint.

After it was dry, I distressed the yellow with sandpaper.

Then, I hot glued my sticks onto the back of the frame.

To finish, I painted my welcome message freehand-if you're scared to do that-stencils or stamped letters would work just fine.


Pin It


Pin It

I love the pop of yellow against the gray-one of my favorite color combos lately. What do you think? I want to make another one with a bigger frame for my patio area outside.

Well, thanks for visiting ReMadeSimple! And please come back again in the next few weeks--I am excited a part of a big Mother's Day campaign and I'm getting ready to reveal the fun project I've been dreaming up...


Linking up with these parties.


February 23, 2012

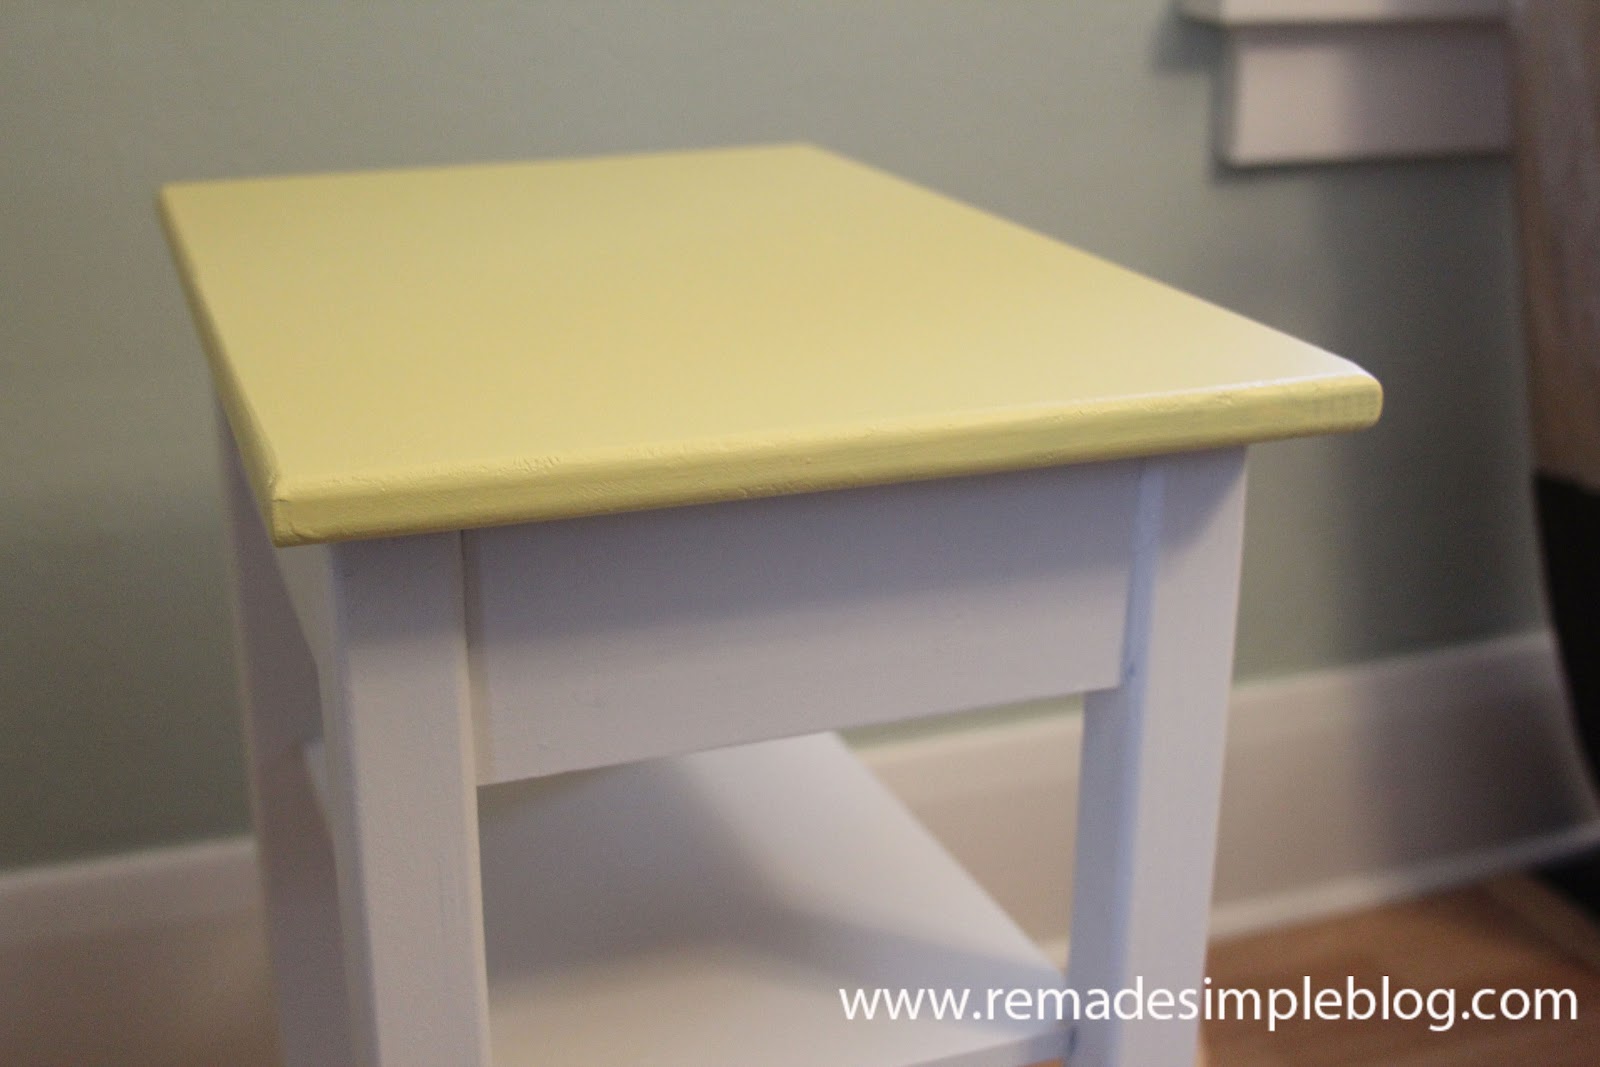
Retro Stenciled Side Table


Pin It

Since the New Year, I've been having fun changing up a few painted furniture pieces in my house, turning a few things lighter from rusty reds and blacks to yellows, whites and pastels.

And, this little side table of mine was bugging me. It looked too dark and boring sitting in the corner of my living room next to a dark brown leather chair. 

So, I decided to give it a lighter, brighter revamp...

I painted the legs a pale gray, and the top the same yellow as my pie safe called 
"Yellow Magnolia"
by Martha Stewart. (Looks a lot like hard boiled egg, but I like it!)
I used eggshell latex paint for this (not on the chalk paint bandwagon...yet).


After the paint was dry, I decided to stencil the tops and sides for a nice pop of "Tangerine Cream" colored paint.
 I used my Nagoya Craft Stencil from Cutting Edge Stencils. 
(I had done stenciling for the first time with this stencil on a market tote bag 
and decided stenciling was fun and not scary!)


After the stencil was dry, I thought the design looked a little too bright how it was, 
so I decided sand down the top and sides with an electric sander using fine sandpaper.


Pin It


Sanding the table did the trick of toning down the orange accents and added that aged 
look that I love to the table. I love my new brighter table-
I think it adds a fun retro feel to my previously dark corner. 

And I love the combination of stenciling and distressing-will definitely be doing this again sometime!
(And maybe I'll be trying out that chalk paint everyone's raving about too...)

I hope you enjoyed this table revamp and thanks for visiting ReMadeSimple today!

Linking up with these parties and this party.


January 10, 2012

Eclectic Style: Creating my Gallery Wall

Well, folks, I am excited to reveal to you what I have been busy, busy making
and finally hanging with the help of my husband--my gallery wall! 

This past year, all I had hanging on these dining room walls were two 
framed pictures of each of my boys. Traditional and safe. But a little boring. 
I wanted something more modern, funky, and daring. At first, when
I would see photos and art on walls like this,  I thought the space looked 
cluttery and hodge-podge.
But, at last, the idea has grown on me into fascination and a love for this eclectic way to 
show off all your personal favorite photos and pieces of art. I've seen many amazing 
ones in blogland and have often stopped to compliment the makers. 
Pin ItSo, finally, here's a photo stream of my great reveal...


Some of the things that make up my display are very personal to me, 
                                 including the first crayon and paint artwork of my youngest son, matted 
                                and framed; a few handmade paper ornaments made by a friend; family photos,
         yellow flowers from a favorite park, and what I call my "numbered monogram"
 to symbolize our last name and that there are four of us.


The frames I used in my gallery wall were inexpensive new ones from 
Target and a few old ones I had laying around-- spray painted either
white or gray to give them a fresh look. 
And on one of them I Mod Podged vintage hymnal pages.

I love that the colors in my gallery wall include some of my old favorites
like blue and green and new ones like the combination of gray and yellow. 

I'm so happy with the results--I love looking at all the meaningful parts to my gallery wall. 
There is another side to the wall that I've filled with more handmade fun stuff, 
but I will save that reveal for another day soon... 

Well, that sums up my gallery wall reveal. Thanks for visiting ReMadeSimple!  

P.S If you entered my giveaway contest last week, you'll want to come back tomorrow for my announcement of the winner of the $50 Cutting Edge Stencil Giveaway! 


Linking up with these parties and this party.

Pin It

January 5, 2012

Hello Yellow: Pie Safe Revamp


Ok, here's the big furniture project I've been working on for the past week:
Changing my pie safe from reddish-orange (the color it was when I bought
it from the antique market about 5 years ago) in the picture below...


To a vibrant yellow! Enjoy a short video of the reveal below!


Here I am doing some finishing touches with my new Dremel (in my 
classy safety goggles) lightly sanding the edges and using
the brush attachment to remove paint that had gotten onto the metal latch.


I used Martha Stewart paint in Yellow Magnolia and I love how this
not- too- bright yellow pops out cheerfully against my pale gray walls.

(It's important to let you know I used two coats of primer before
adding the yellow to let the true color stand out and last longer).
Yes, I am in love with yellow and gray.


Previously I had put metal screen inside the doors for decoration and
to keep little hands out, but I thought switching it to
 chicken wire would be a nice change. 

I cut it with wire cutters and attached it with 
a staple gun. Pretty simple. 
And a decorative way to kid-proof your home.


I will be working on changing my side tables in my living room soon, because as much as
I love color, it is even becoming a little to rainbow-like for me. 
They will still have color, but more complimentary to my new love for yellow. 
Next, I'm excited to be showing you what I've done to create a gallery wall display
in my dining room. Transforming traditional into modern and eclectic.
Stay tuned...


Linking up with these parties.


December 29, 2011

DIY Numbered Monogram


I love monograms. And numbers. This is a combination of both
that I made to represent our last name + how many family members
their are. J to the fourth power = fun with math + art to start my
gallery wall in my dining room. And a new love affair with yellow.


Here's what I used in this project:

  • vintage linen napkin
  • matte Mod Podge
  • large wooden letter 
  • small wooden number
  • acrylic craft paint
  • fabric scissors
  • paint brush


I love to repurpose, so to go along with this theme, 
I used a pretty lemon yellow vintage linen napkin I found
 at a thrift store a few months ago.


I cut the cloth into little rectangles using fabric scissors.


I applied the matte Mod Podge onto the monogram with a 
brush, laid one piece of fabric down flat over it.


I then brushed more Mod Podge over the top of the fabric piece,
saturating it and smoothing it flat against the wood. 

I repeated steps 2-3, overlapping fabric pieces onto the top 
and sides of the wooden letter until it was covered completely.


To finish, I painted my number using Deco Art 
acrylic paint in a dark gray.
 After everything was dry, I nailed the my numbered monogram
to my gallery wall!


I love how it adds some fresh modern style to
my previously traditional wall. I plan on surrounding the wall
 with photos of my family, nature and some cheerful crayon and paint
works of art done by my boys. I can't wait to until it's done!

Stay tuned for a post in a few weeks showing the finished gallery wall...

Thanks for tuning in!


Linking up with these parties and this party.