Search

April 21, 2012

Martha Stewart Campaign Sneak Peek

my campaign supplies

About a month and a half ago, I signed up to be a part of an exciting campaign by Blueprint Social where I would get to test out Martha Stewart's new line of craft paint and decorating supplies.  Let me just tell you when that big box of supplies arrived at my house it was like Christmas for my crafty little self!

Plaid was so generous with supplies! (And, my boys got in on the excitement when they saw they could jump on all the bubble wrap everything was wrapped in). It was a great day around here for everyone.

My assignment was to create a pretty Mother's Day gift, so this weekend I've been working hard on the finishing touches. I have had a lot of fun playing around with the paints, stencils and brushes and am really impressed with the quality and versatility-I had no clue the paints could work on fabrics, glass, ceramics, wood, indoors and outdoors. Let's just say it opens up a whole new door of crafting opportunity for me...

So, if you're wondering what I came up with, I will be revealing the project I created next Friday on April 27th-hope you come back to see what I made!

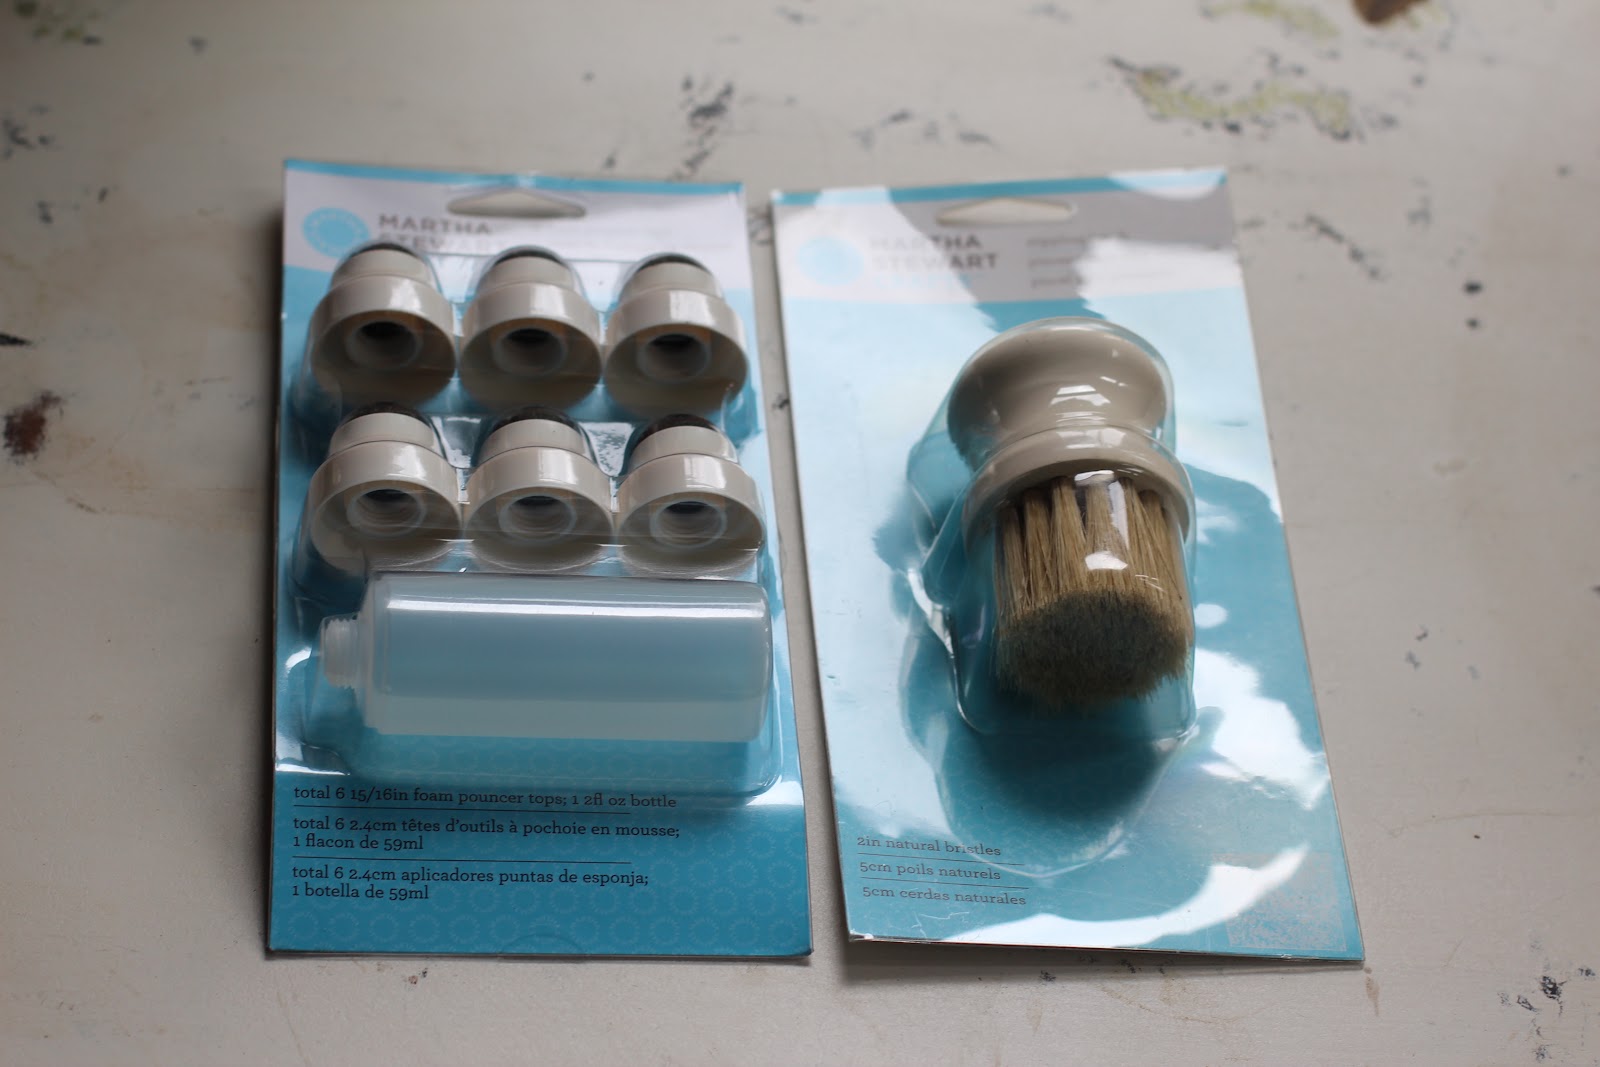
Here are a few shots of some of the supplies that came in my goody box:


What would you make if you got to experiment with all this cool stuff? 

Thanks for visiting ReMadeSimple and remember to come back again on the 27th to see what I created for the Martha Stewart Mother's Day Campaign!


April 18, 2012

Spring Medallion Garland


I have loved the look of medallions ever since I saw them in last month's issue of Better Homes and Garden's. Have you ever seen Sweet Paul's ideas? I love pretty much all of them and I want to make everything he's done. Here are the wall medallions he made-aren't they pretty?

Source: bhg.com via Kristina on Pinterest


Pin It

These seemed really easy to make so I decided to try some mini ones for my mantle. It's been looking a little bare since all the major holidays are over so I figure these springy flowers would add nice pops of color and spice things up.  And they do!

Here's the easy tutorial for making some of your own:


You will need: 

  • decorative paper at least 20" long (I used handmade wrapping paper)
  • scissors-straight or decorative cut
  • paper glue or glue gun
  • yarn, twine or string
  • scrap paper in different colors for center circles
First, cut your strips about 20" long using decorative or regular scissors. 
(The wider the strip, the larger the medallion--my mini ones were about 2 inches wide.)


Then, fold each strip about 1/4 " -1/2" wide accordion style.


Next, glue the short ends together to form a tube.


Before you flatten each tube, cut out circles in different shapes and colors to add to the centers of the medallions.


Now it's time to flatten each medallion and glue together at the center.
Add your circles to the centers with a dot of hot glue or paper glue.


To make into a garland, I hot glued my medallions to the back of twine to stretch the length of my mantle.


Pin It
And here are a few shots of my finished Spring medallion garland:


 These were really fun to make and I plan on making bigger ones in different colors next time a good excuse for a party rolls around. They would be a great way to repurpose a catalog or an old book, don't you think?

Hope you enjoyed this post and thanks for visiting ReMadeSimple!


Linking up with these parties.

April 16, 2012

Smart Simple & Green Boot Storage Tips


It's that time of year again-time to store away all the fall and winter clothes and boots and get out the sandals and flip-flops (and scrub those feet...paint those toenails pretty... )

If you have tall boots and want them to last long and keep their shape, don't just flop them down on the closet floor; try this quick trick: (and rescue some plastic from the recycling bin or trash can).

1. Grab two rinsed out empty two-liter bottles.


2. With the caps on tight, push them down into your boots to help them hold their shape.
3. Store away.


Pin It

Ok, so that was the easiest and quickest tutorial I've ever shared-no skills required!
I really think this trick has helped my favorite boots last for years-now all I need to do for next season is polish them up.

Hope this tip was helpful and thanks for visiting ReMadeSimple! Looking forward to sharing more spring decorating and crafty ideas with you!


Linking up with these parties.