Search

Showing posts with label distressed. Show all posts

August 15, 2012

Pottery Barn Knock Off Chairs


When I found this set of chairs at a thrift store for about $5,  I had no idea they were the exact same style as Pottery Barn's beautiful Napoleon Rush Seat Chairs. While browsing through PB's online catalog, I couldn't believe how similar they looked and decided it was time to paint the chairs a much lighter color to create a great knock-off look like the ones I was admiring online. 

Here are Pottery Barn's chairs:


Why would someone have gotten rid of these? They were sturdy and in great condition. I was happy to be the lucky recipient and couldn't wait to cover them in a creamy shade of paint.

Here are the chairs before: 


And here are the chairs after! 


I revamped these chairs by spray painting the rush seat covers with a few coats of white spray paint, then painted a few coats of latex paint + primer in my off-white shade on the wood. (A cheap way to do small painting projects like this is to buy one or two of the $3 paint tester cans tinted in whatever color you like.) I lightly distressed the edges of my chairs with my Dremel to finish.


Here are the chairs in my dining room. So light and airy. By the way, did you know dining room chairs don't have to match? Here I mixed two different styles of chairs all painted a pale color to create a uniform look with eclectic style.


I am so happy with my transformation! It's amazing what a few simple coat of paint can do. (And, I have to laugh when people think I actually shop at Pottery Barn...)


Pin It


Linking up with these parties.

April 27, 2012

Martha Stewart Mother's Day Campaign: Stenciled Garden Sign


A couple of months ago I signed up to be a part of an exciting Blueprint Social campaign sponsored by Plaid to test out a new line of Martha Stewart's Craft Supplies. You can guess that I had a lot of fun getting this huge box of freebies and dreaming up a project to make for a Mother's Day gift. (Check out what I got to choose from here.)


When I found out that  Martha's new craft paints were good for use indoors or out on wood, glass, metal, fabric and just about any surface I figured the sky was the limit with what I could create.

So, my task was to create a pretty Mother's Day gift using any of the supplies in my goody box. Knowing how much my mom enjoys being outside made me think she might like a decorative garden sign.

 So, in the spirit of repurposing I grabbed a pallet plank from my stash, picked out some of the adhesive and monogram stencils, paint and brushes to design a bright sign to hang outdoors.

Here's what I used for my pallet garden sign:

pallet plank
rope
staple gun
Martha Stewart Monogram stencils
Martha Stewart Craft Paints
Martha Stewart Adhesive Stencils
stencil brushes
paint brushes
stencil tape
pencil
electric sander and sandpaper


First, I secured a piece of rope to the back of each end of the wood with a staple gun so it could be hung from a branch or nail. 

Then I spread out my monogram stencils to spell out the word "GARDEN" across the pallet. 

I drew a line down each edge of the stencil so I could paint the background in sections before stenciling the words.


Next, I painted in the penciled in sections with two alternating colors of brown and fuschia.


I decided to sand down my dried painted wood before adding the stencils to give the sign that nice distressed, weathered look I love.  

Then, I used the adhesive stencil, stencil brush and paint to add a design between the sections where my letters would go with a light aqua. 


I also taped off squares in each section using the stencil tape and painted them in a medium aqua in for even more color borders before adding the letters. 


It was finally time to spell out my word!  I used my monogram stencil and smaller stencil brush to add each letter in brown.  Once these were dry I outlined each one with my light aqua to add contrast. 


I decided my sign was done after adding a few flowery stencils around each letter in light aqua. 


And the humble pallet was transformed! The project had taken a few more steps than I had envisioned in the first place but it was worth it because I was really happy with the nice pops of color in the end result.

Here are a few beauty shots of the garden sign hanging in my yard:


Pin It


I have to tell you, I was really impressed with the quality of the Martha paints. I loved the pretty, modern colors and how smooth they were to apply. And I admit stenciling was a craft I used to shy away from because I thought it would be too easy to mess up, but the adhesive ones were so easy to work with and could be used again. Also using stencil tape to hold down the letters helped too. 

Now, I love stenciling and plan on using these again-maybe on fabric next time?

If you like what you see here and want to be inspired by more Plaid craft ideas and find out about their latest products, ideas and promotion, you can find them on Facebook, Twitter or Pinterest.


I wrote this post as a part of a paid campaign with Plaid and Blueprint Social. The opinions in this post are 100% my own.

Thanks for visiting ReMadeSimple-hope you enjoyed your time here and left with a little inspiration!


Linking up with these parties.


February 23, 2012

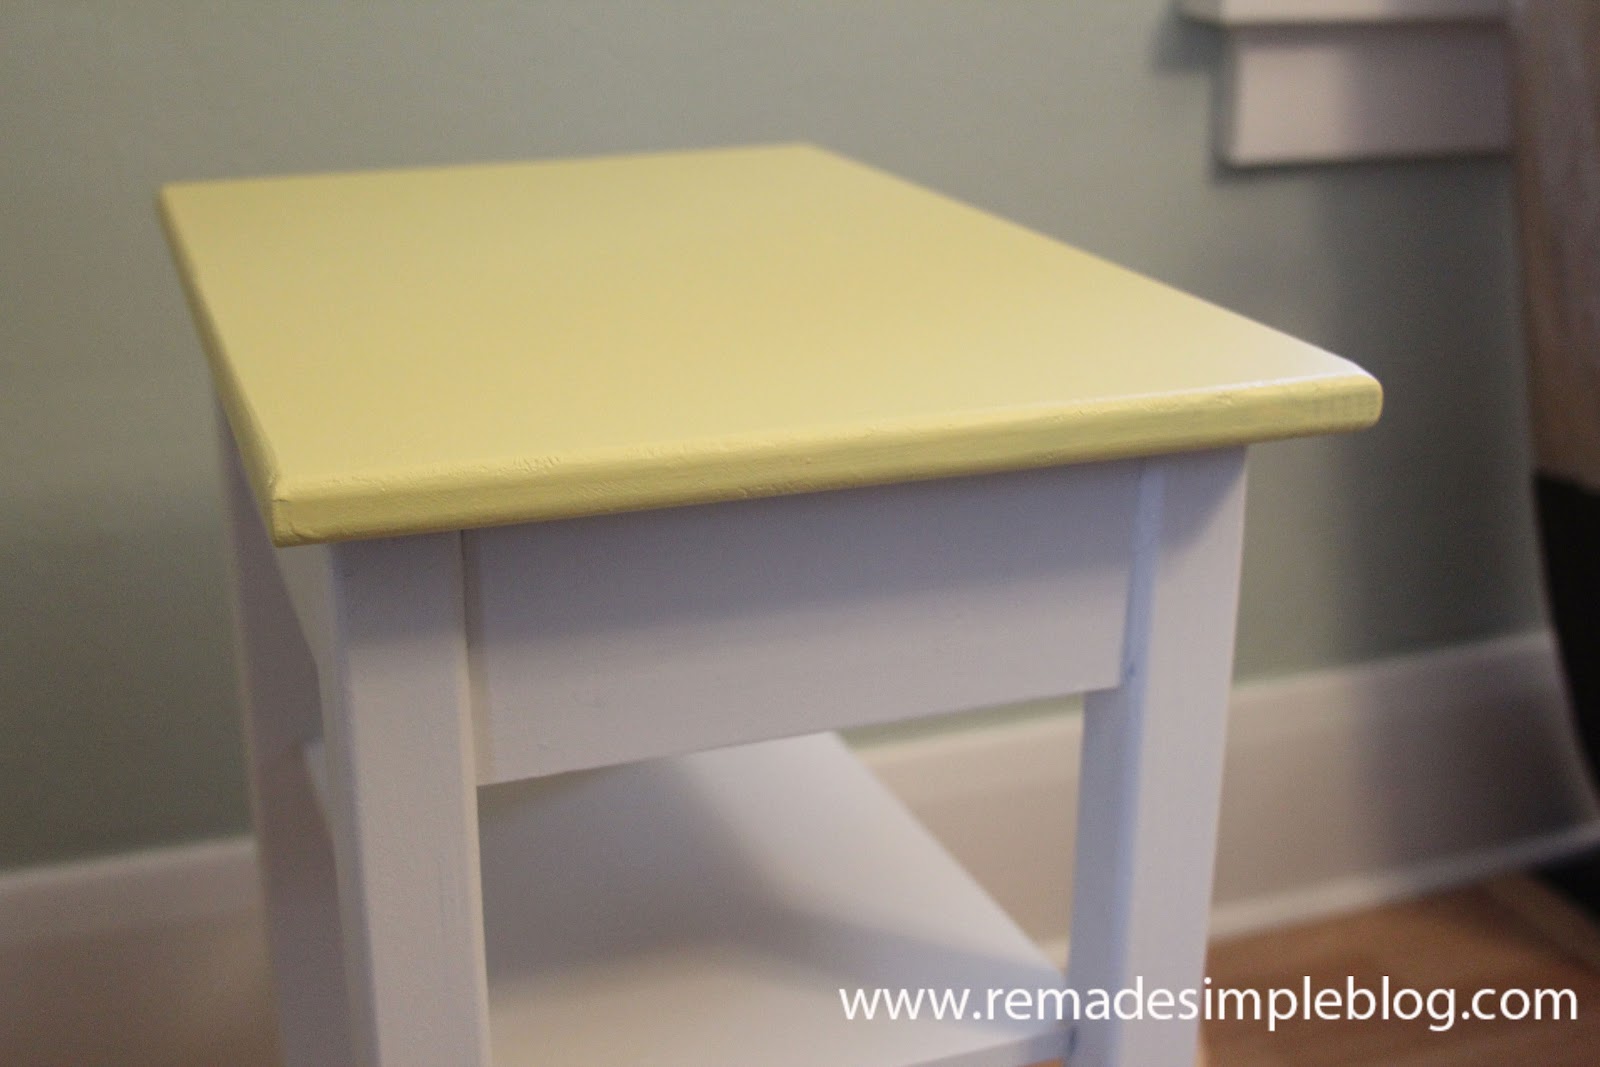
Retro Stenciled Side Table


Pin It

Since the New Year, I've been having fun changing up a few painted furniture pieces in my house, turning a few things lighter from rusty reds and blacks to yellows, whites and pastels.

And, this little side table of mine was bugging me. It looked too dark and boring sitting in the corner of my living room next to a dark brown leather chair. 

So, I decided to give it a lighter, brighter revamp...

I painted the legs a pale gray, and the top the same yellow as my pie safe called 
"Yellow Magnolia"
by Martha Stewart. (Looks a lot like hard boiled egg, but I like it!)
I used eggshell latex paint for this (not on the chalk paint bandwagon...yet).


After the paint was dry, I decided to stencil the tops and sides for a nice pop of "Tangerine Cream" colored paint.
 I used my Nagoya Craft Stencil from Cutting Edge Stencils. 
(I had done stenciling for the first time with this stencil on a market tote bag 
and decided stenciling was fun and not scary!)


After the stencil was dry, I thought the design looked a little too bright how it was, 
so I decided sand down the top and sides with an electric sander using fine sandpaper.


Pin It


Sanding the table did the trick of toning down the orange accents and added that aged 
look that I love to the table. I love my new brighter table-
I think it adds a fun retro feel to my previously dark corner. 

And I love the combination of stenciling and distressing-will definitely be doing this again sometime!
(And maybe I'll be trying out that chalk paint everyone's raving about too...)

I hope you enjoyed this table revamp and thanks for visiting ReMadeSimple today!

Linking up with these parties and this party.


February 5, 2012

Anthropologie-Inspired Side Table Makeover

Pin It                                            Who's ready for another furniture revamp?
If you've been following along, you might know that I love to
 try new things with paint (check out my Patchwork Table
Revamp and my Pie Safe Makeover to see some of my 
latest creations.) 

Well, since the switch to yellow accents in my house, 
I have felt the need to change the rest of my painted
furniture so it doesn't look so rainbow-ey.

So where did I look for my inspiration? That gorgeous
Anthropologie catalog. Not quite in my budget to buy their 
furniture at $900 + a piece, but this DIY girl didn't mind 
getting her hands dirty to make a version of her own. 


Here are a few of their
furniture pieces that inspired me for my project:

Anthro
"Twisted Roots Alter Ego Chair", Anthropologie

"Kasbah End Table", Anthropologie


I loved the distressing techniques the designers used and different
layers of paint peeking through. I had already done a patchwork paint technique before, 
so I felt confident to take a vintage thrift store find of mine to transform.

So, this is what I decided to work with, my Mod Podged Vintage Songbird Table
Cute, right? Now you might be thinking, why would I mess with a good thing?
Don't hate me for what I decided to do with it...


I decided to strip it. Little did I know how messy it would be
to work with. (my husband did warn me...but I can be stubborn.)   
For some reason, all of the paint wouldn't come off completely, 
even after two applications of spray stripper.

 And then the directions said to use steel wool to rub off the 
sludge but because there were so many layers of paint a 
lot of the goo still stayed on. 

I was about ready to kick this table to the curb. But after
a few days to think and take a break, I decided to 
try and sand off some of the flaky paint. 

By this time the paint had time to dry and it was much 
easier to remove with my electric sander. Yes! 


All I wanted at this point was for a somewhat smooth 
surface to work with. I also used my Dremel wire brush
 attachment to try to remove extra chunks of paint.
 (This was becoming my labor of love!) 

So after the paint was mostly smooth, I covered small sections 
in aqua, tangerine and yellow eggshell latex paint in the 
patchwork technique I had used before. 
(Sorry I don't have pictures of this part-I still wasn't sure if 
the table would survive my "surgery".) 


But, after letting my patchwork sections dry, I decided to
paint the entire table in pale gray paint. Yes, even the little
songbirds got covered. 

And after waiting a day for that to dry, turned on my 
electric sander to see if it would be a disaster or a masterpiece....


But, I was so pleasantly surprised by my results! 


Pin It


Pin It


Pin It

So, after sanding through the top layer, the soft paint colors were revealed. 
(A lot like those Anthro pieces I loved!)
And, my Mod Podged song pages and birds were intact! After a spraying
of Deco Art acrylic sealer, my table was done! 

It reminded me of an old barn that had been painted,
then weathered by the elements for decades. 
(I think I love it even more than I did before!)
I hope you enjoyed this post and I look forward to showing you
a few more Anthropologie inspired projects I have up my sleeve! 


P.S. It's not too late to enter my huge giveaway of a gorgeous handcrafted European enamel 
house sign, if you haven't done so already. Scroll down the page to enter and winner will be announced on Fri. Feb. 10th! 


Linking up with these parties and this party.