Search

Showing posts with label chalkboard. Show all posts

April 30, 2012

Vintage Chalkboard Revamp


Pin It

Last summer, this easel chalkboard was sitting at an antique store just begging to be thrown in a dumpster taken home by me with its clearance price tag. At $15 I couldn't resist.

I imagined using it to write fun messages on it for birthdays and letting the kids use it as an art easel. So far, it's been used for all of those things, but I had been wanting to do something bright and cheerful to the top scroll part.

(I guess from my research the scroll had been used in some way for school-for the alphabet or nursery rhymes.) Well, I finally made some beautiful changes that I'm happy with: But I do have a question about the wood-should I paint it? 

Here's what I did to change the look of the chalkboard so far:

before

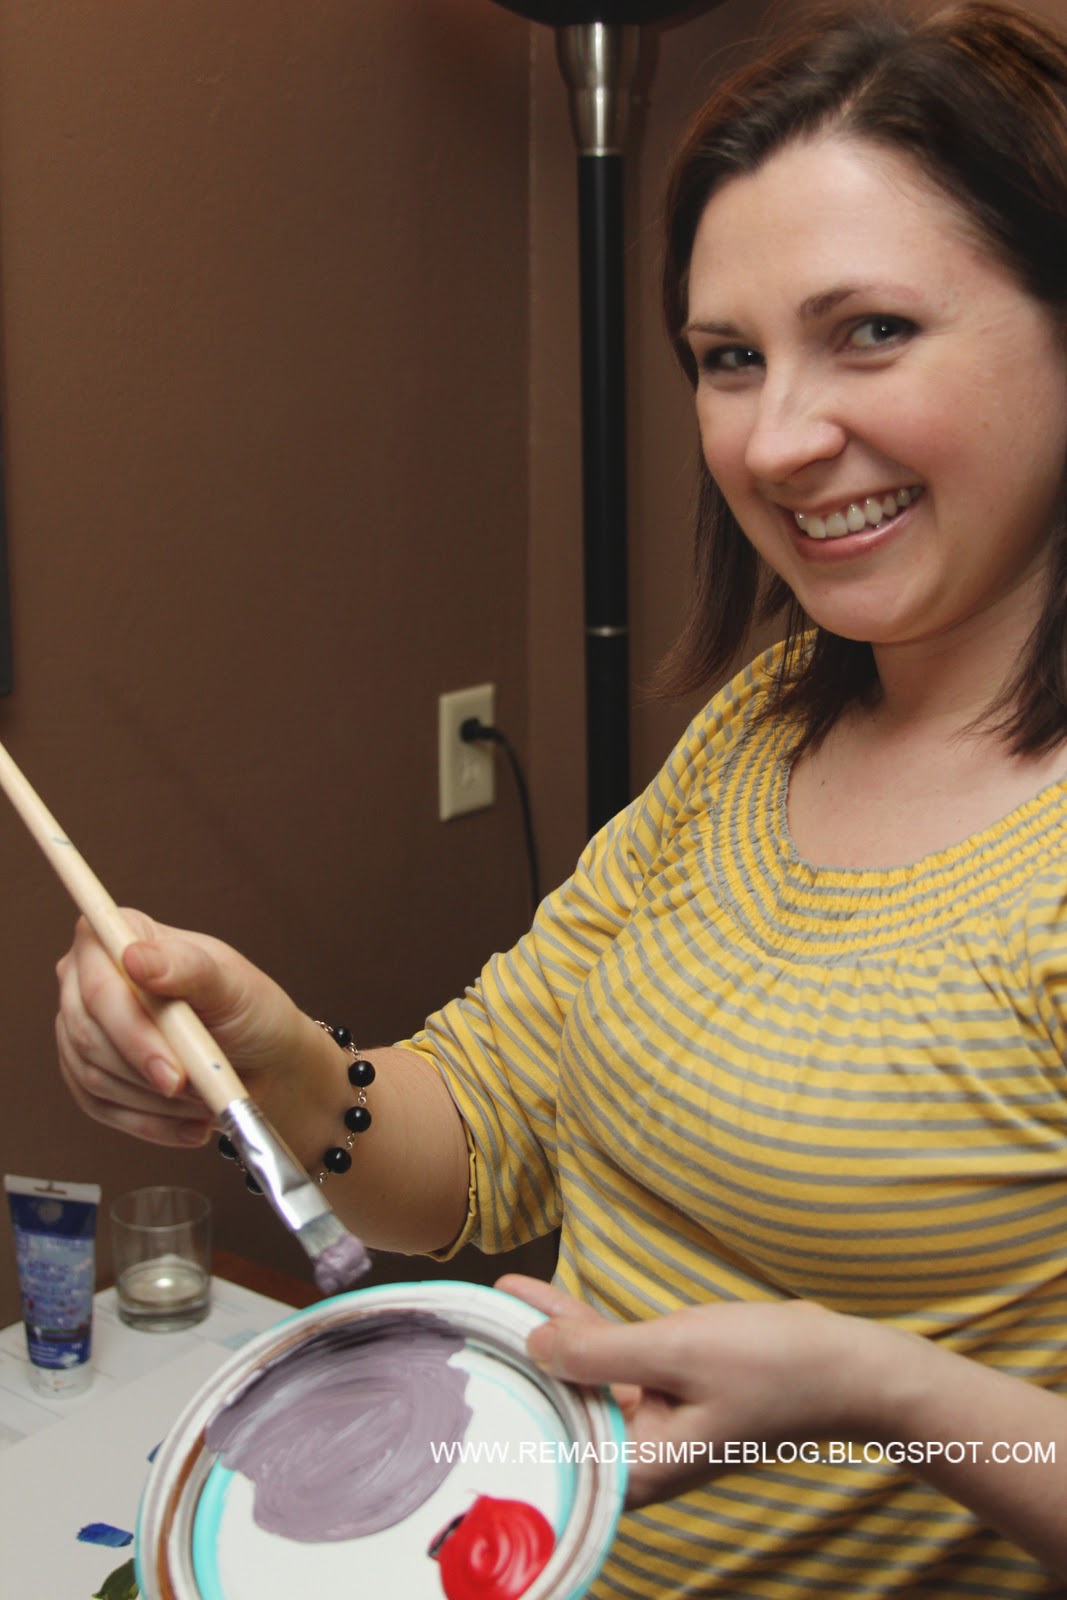
starting to paint the scroll a pale aqua


I had some upholstery samples I had bagged up at my local Scrap 4 Art store and thought all the bright colors would make a great pennant. So, I used my fabric scissors, hot glue gun and some twine to create the look below: 


Pin It

Wouldn't this chalkboard be a cute message board at a vintage style wedding?

But,  I'm still sitting on the fence about painting the wood-what do you think I should do?


Linking up with these parties.


April 22, 2012

DIY Interchangeable Framed Chalkboard


So, I have this frame that is a combination of key hooks, mirror and four picture frames on the side. I found it years ago on clearance at TJ Maxx, but it kind of looks like something Pottery Barn would sell.

I have been getting tired of the photos inside the frames and wanting to change up the look of it, so I came up with the idea of making interchangeable chalkboards for it so I could use it as a chalkboard or switch it back to photo frames if I get tired of that look.

(This works for me because you might be able to tell I get tired of looks and like to switch things around regularly!)


This idea would work for any photo frame that has a hard (not cardboard) frame backing.


What my wall frame looked like before as photo frames


Here's how I did it: 


First, I pulled out the hard backing and glass out of each frame. 


I set the glass aside and then, I painted each backing with chalkboard paint. 


I painted two coats of paint, one horizontal and one vertical, allowing to dry an hour between coats. 


After the paint was dry, I put the backers in first, storing the glass plates carefully behind them so I could use them as a frame later on. 


Here's what my new framed chalkboard looked like when it was done:


Pin It

I decided to take my chalkboard markers and write the words "HOME" in the four framed spaces with a cross stitch pattern.


I filled in the metal key labels with pages from a vintage Shakespeare's Sonnets book I have. 


And here is my finished wall frame! (I guess I already wanted to switch out the lettering on the frame...I told you I get tired of how things look.)

I love the new look of my frame-even more like Pottery Barn style than before, I think. (I'm not sure I'm going to ever want to switch it back to regular photo frames again.) Now all I need is to find something to hang from the hooks. I'll be on the lookout for a garage sale box of skeleton keys...


Pin It


Thanks for visiting ReMadeSimple! I hope you enjoyed your time here. I'm looking forward to sharing more revamps and a special Mother's Day Campaign post later this week. Hope you'll come back again soon!


Linking up with these parties.


January 31, 2012

DIY Chalk Board Serving Platter


Hello, good people! I am so excited to share with you this  project from one of the coolest blogs I 
have stumbled upon! This chalkboard platter is just genius and I love it!  Amanda Wright of 
 Wit and  Whistle  has lots of cool DIY projects, a"stylishly  quirky paper goods shop", 
and more along with gorgeous photography! 


She points out in her tutorial that you need to use a special kind of chalkboard paint made for 
porcelain (never knew there was such a thing!) But I do love chalkboards and love to make them on 
all kinds of surfaces. This idea is a fun and creative way to identify what types of foods you have on 
your platter for your entertaining guests-like cheeses, cookies, or appetizers. 

This is the first of a few highlights and features I will be doing from time to time to share some 
great projects and highlight talented crafters I've discovered. 
Hope you enjoy and go visit Wit and Whistle for this tutorial and  more of Amanda's  amazing ideas.
(Seriously, besides being beautifully designed some of Amanda's handmade cards are laugh out loud funny!)

chalkboard serving platter


So, did you enjoy this idea? (Who doesn't love chalkboards these days? )
Looking forward to sharing more of my own ideas later this week with more Valentine's fun, a really big giveaway, and more!


January 18, 2012

Things That Get You Through Winter Party


I was invited to a birthday party for a friend last week with the theme
"What Gets You Through Winter", (great idea!) and I immediately 
thought about  how after every Christmas, after the tree goes down, 
I like to go to a green house and pick out a few new houseplants 
and breathe in the warm air. (I try to avoid greenhouses in the 
summer-too hot for me, but perfect in the winter.)

Something about bringing in fresh, living green plants helps us think 
spring when everything is frozen outside (usually...this winter has 
been an exception with 40-50 temperatures. I'm not complaining!).

So, as a gift for this party, I took one of my baby jade plants and tried
out my liquid chalkboard paint for the first time to decorate the pot.


After painting the pot and allowing to dry, I used my new
chalk markers I got from Uppercase Living to write little care 
messages on it, like watering instructions and "Think Spring".


Here was someone else's idea of what gets them through winter: 
Chocolate Chip Cheesecake. Mmmm....I agree.


Someone else said "art and color" gets them through, so they 
brought a blank canvas with paints for a group effort to 
create a bright abstract painting for the birthday girl.


Even the kids got to help...


I thought this was a creative party idea--so much better than no
theme at all, and thinking about trying this for a great excuse for 
people to get together and eat, drink, be creative,
and hold on until spring comes.

If you are in a cold weather climate, what are some things
that get you through winter?


Linking up with these and this party.

Pin It

December 31, 2011

Repurposed Cabinet Panel Chalkboard

Happy New Year to everyone!

I thought I'd make my last post of 2011 one of my very first repurposed/recycled projects that got my creative wheels turning and inspired me to start this blog this summer-I can't believe it's been 6 months since I started! It has been an adventure!

There's this amazing non-profit store in my area called Scrap 4 Art, where you can fill up a large bag of donated scrap items for only $6. (If you are a teacher, everything is free! )

They had these forgotten about cabinet door panels waiting for some creative reuse and I bought a few, with the idea to paint them into chalkboards.


Here is one of my favorites that doubles as a chalkboard and message board--thumbtacks can be pushed into the cork section with a reminder note, list or photo.


Here's how I made this chalkboard: 
 -First I painted the middle section with chalkboard paint. 


-After that was dry, I used painter's tape and plastic to cover and protect the entire chalkboard section from the next step of spray painting.


-Then I spray painted the framed area. (I used a Rustoleum color called Paprika).


- After everything was dry, I hot glued the corks onto the side. To finish, I nailed a picture frame hook to the back. 


Well, I guess this sums up the first 6 months of ReMadeSimple--it has been a thrill to share with the world and get inspired and connect with other bloggers out there!

I sat down today and wrote out some creativity goals for myself and I am excited to share some new craft ideas and recipes, money saving tips and furniture and room revamps with you in 2012!

Have a safe and blessed New Year!


Linking up with these parties and this party.


November 4, 2011

Weathered Barn Framed Chalkboard

As promised, I am showing you today more details on some distressing techniques I've played around with.

I am by no means an expert, but I definitely had fun helping my friend Cindy who called me up, a little "distressed" about the whole process. She wanted to transform a frame she had painted for a chalkboard    to give it a nice old feel--like it had been through years of sun, snow, and wind. You can get that look by laying it outside for a few years, or you can speed the process up with a faux finish using sandpaper and some elbow grease.

I pretty much said, "Distressed?--one of my favorite words, I'd be happy to help!" The nice thing about creating a distressed look, in my opinion, is that there really isn't a wrong way to do it. I'm pretty bad at projects that require perfection--distressing is so forgiving!

Below, you can see the original color of the frame-a nice paprika red and our beginning marks made with medium sand paper. The chalkboard part, made from cutout plywood painted with chalkboard paint, would be nailed into it later. All we did was run the sandpaper along the ridges of the frame to expose some of the white underneath.


Next, you can see where we sanded more into the center of the frame to expose even more white. To make our faux finish look more authentic, we sanded in random spots, where the frame would have distressed naturally with age. In some spots we exposed through the white layer to a layer of brown wood.


 Below, a bigger picture to show the overall effect we were looking for. We were almost done!


Next, we nailed in the plywood chalkboard to the back of the frame to complete the project.


Works great! 


A nice spot to put the chalkboard-kid level! 


Cindy's girls loving the huge new chalkboard! 


You're welcome! 

Now that I have given you a more detailed look at my version of the distressing technique-do you have any questions? You can ask below by clicking on the "comments" tab. Thanks for reading! 

linked up with