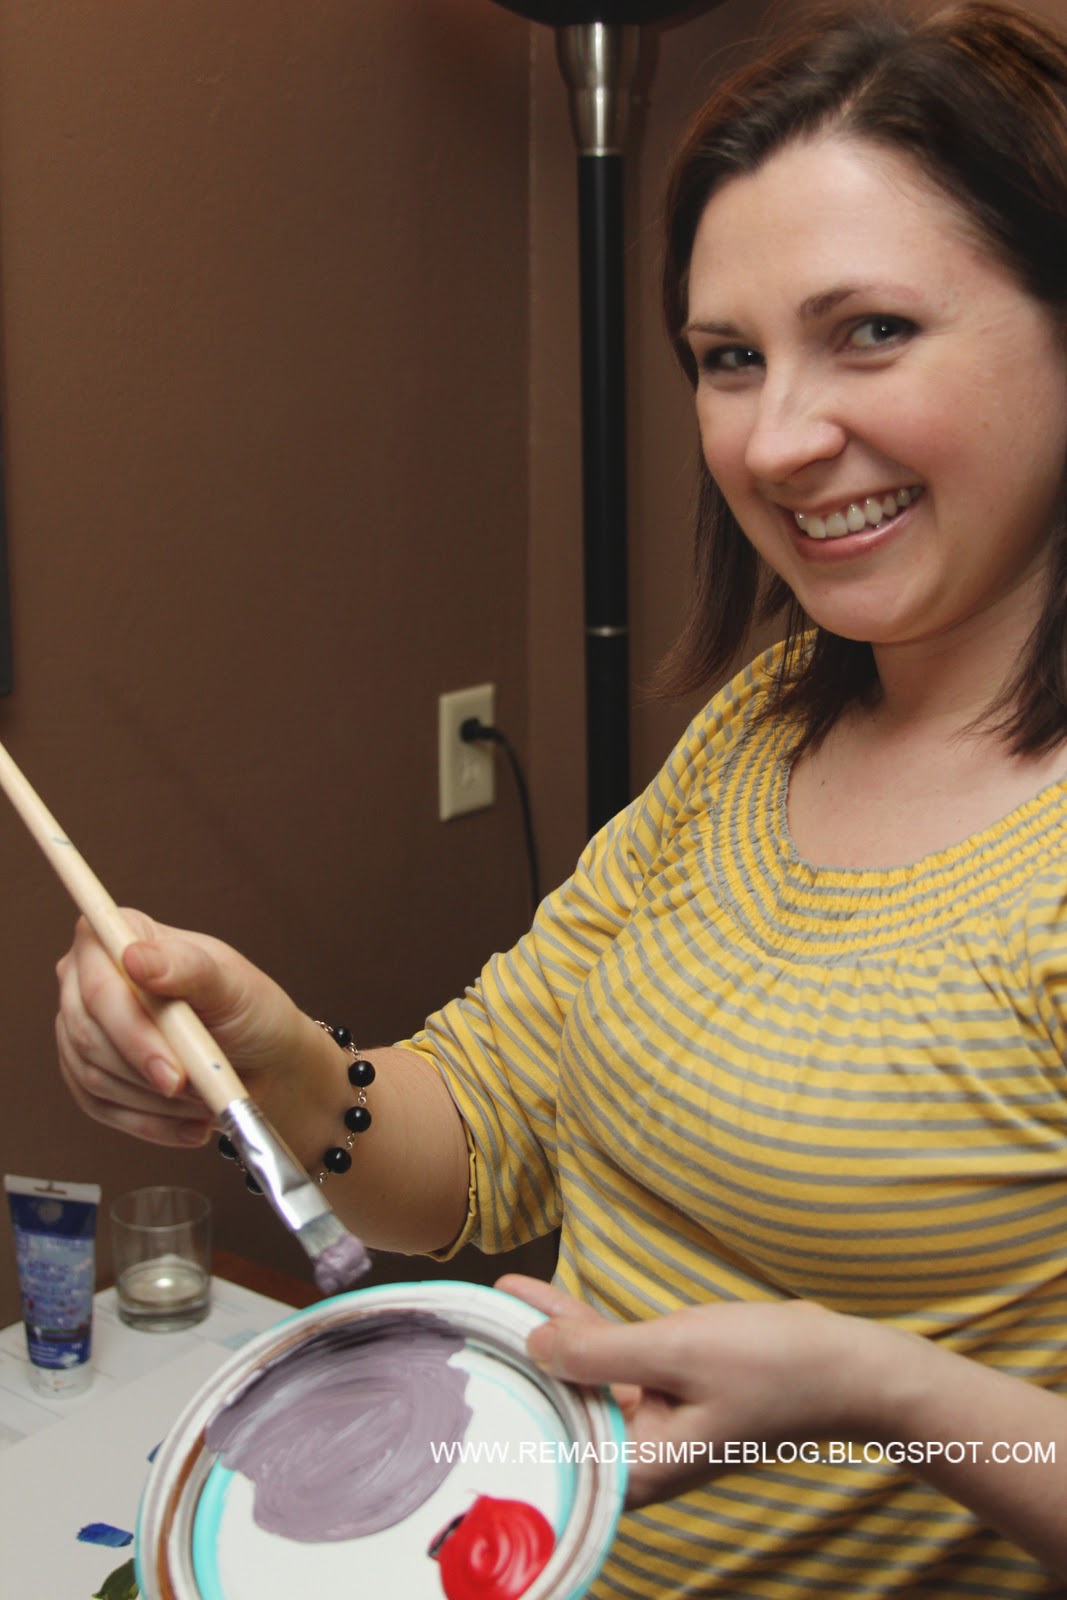
A couple of months ago I signed up to be a part of an exciting Blueprint Social campaign sponsored by Plaid to test out a new line of Martha Stewart's Craft Supplies. You can guess that I had a lot of fun getting this huge box of freebies and dreaming up a project to make for a Mother's Day gift. (Check out what I got to choose from here.)
When I found out that Martha's new craft paints were good for use indoors or out on wood, glass, metal, fabric and just about any surface I figured the sky was the limit with what I could create.
So, my task was to create a pretty Mother's Day gift using any of the supplies in my goody box. Knowing how much my mom enjoys being outside made me think she might like a decorative garden sign.
So, in the spirit of repurposing I grabbed a pallet plank from my stash, picked out some of the adhesive and monogram stencils, paint and brushes to design a bright sign to hang outdoors.
Here's what I used for my pallet garden sign:
pallet plank
rope
staple gun
Martha Stewart Monogram stencils
Martha Stewart Craft Paints
Martha Stewart Adhesive Stencils
stencil brushes
paint brushes
stencil tape
pencil
electric sander and sandpaper

First, I secured a piece of rope to the back of each end of the wood with a staple gun so it could be hung from a branch or nail.
Then I spread out my monogram stencils to spell out the word "GARDEN" across the pallet.
I drew a line down each edge of the stencil so I could paint the background in sections before stenciling the words.

Next, I painted in the penciled in sections with two alternating colors of brown and fuschia.


I decided to sand down my dried painted wood before adding the stencils to give the sign that nice distressed, weathered look I love.
Then, I used the adhesive stencil, stencil brush and paint to add a design between the sections where my letters would go with a light aqua.

I also taped off squares in each section using the stencil tape and painted them in a medium aqua in for even more color borders before adding the letters.

It was finally time to spell out my word! I used my monogram stencil and smaller stencil brush to add each letter in brown. Once these were dry I outlined each one with my light aqua to add contrast.

I decided my sign was done after adding a few flowery stencils around each letter in light aqua.

And the humble pallet was transformed! The project had taken a few more steps than I had envisioned in the first place but it was worth it because I was really happy with the nice pops of color in the end result.
Here are a few beauty shots of the garden sign hanging in my yard:


I have to tell you, I was really impressed with the quality of the Martha paints. I loved the pretty, modern colors and how smooth they were to apply. And I admit stenciling was a craft I used to shy away from because I thought it would be too easy to mess up, but the adhesive ones were so easy to work with and could be used again. Also using stencil tape to hold down the letters helped too.
Now, I love stenciling and plan on using these again-maybe on fabric next time?
If you like what you see here and want to be inspired by more Plaid craft ideas and find out about their latest products, ideas and promotion, you can find them on Facebook, Twitter or Pinterest.
I wrote this post as a part of a paid campaign with Plaid and Blueprint Social. The opinions in this post are 100% my own.
Thanks for visiting ReMadeSimple-hope you enjoyed your time here and left with a little inspiration!

Linking up with these parties.